The Ultimate Guide To Setting Up Your Nas For Remote Access
In today's digital age, accessing your data from anywhere is a necessity. A Network Attached Storage (NAS) system allows you to store and retrieve files over a network. This guide will show you how to set up NAS remotely, enabling you to access your files effortlessly, whether at home or on the go.
What is NAS and Why is it Important?
NAS is a dedicated file storage device that connects to a network, allowing multiple users and devices to access data. It acts as a centralized hub for your files, providing a reliable and efficient way to manage data. By setting up a NAS for remote access, you can enjoy seamless file sharing, data backup, and media streaming.
Benefits of Remote NAS Access
Remote NAS access offers numerous advantages:
- Accessibility Anywhere: Access your files from any device with internet connectivity.
- Data Backup and Recovery: Keep your data safe with automated backups.
- Collaboration: Share files easily with colleagues or family members.
For instance, a small business can use remote NAS access to share important documents with team members working from different locations.
Preparing for Remote Setup
Before diving into the setup process, ensure you have the following equipment and tools:
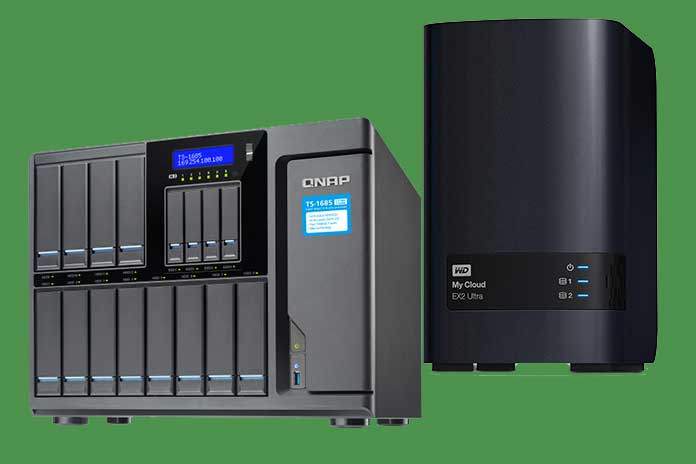
- NAS Device: Choose a NAS that supports remote access, like Synology DS220+, QNAP TS-451+, or Western Digital My Cloud.
- Router: Ensure it has good bandwidth and supports port forwarding.
- Network Connection: A stable internet connection is crucial.
- Dynamic DNS Service: Optional but helpful for easier access.
Step-by-Step Guide to Setting Up NAS Remotely
Setting up your NAS for remote access can be straightforward if you follow these steps:
- Connect Your NAS: Plug in your NAS device to your router using an Ethernet cable.
- Power It On: Switch on the NAS and wait for it to boot up completely.
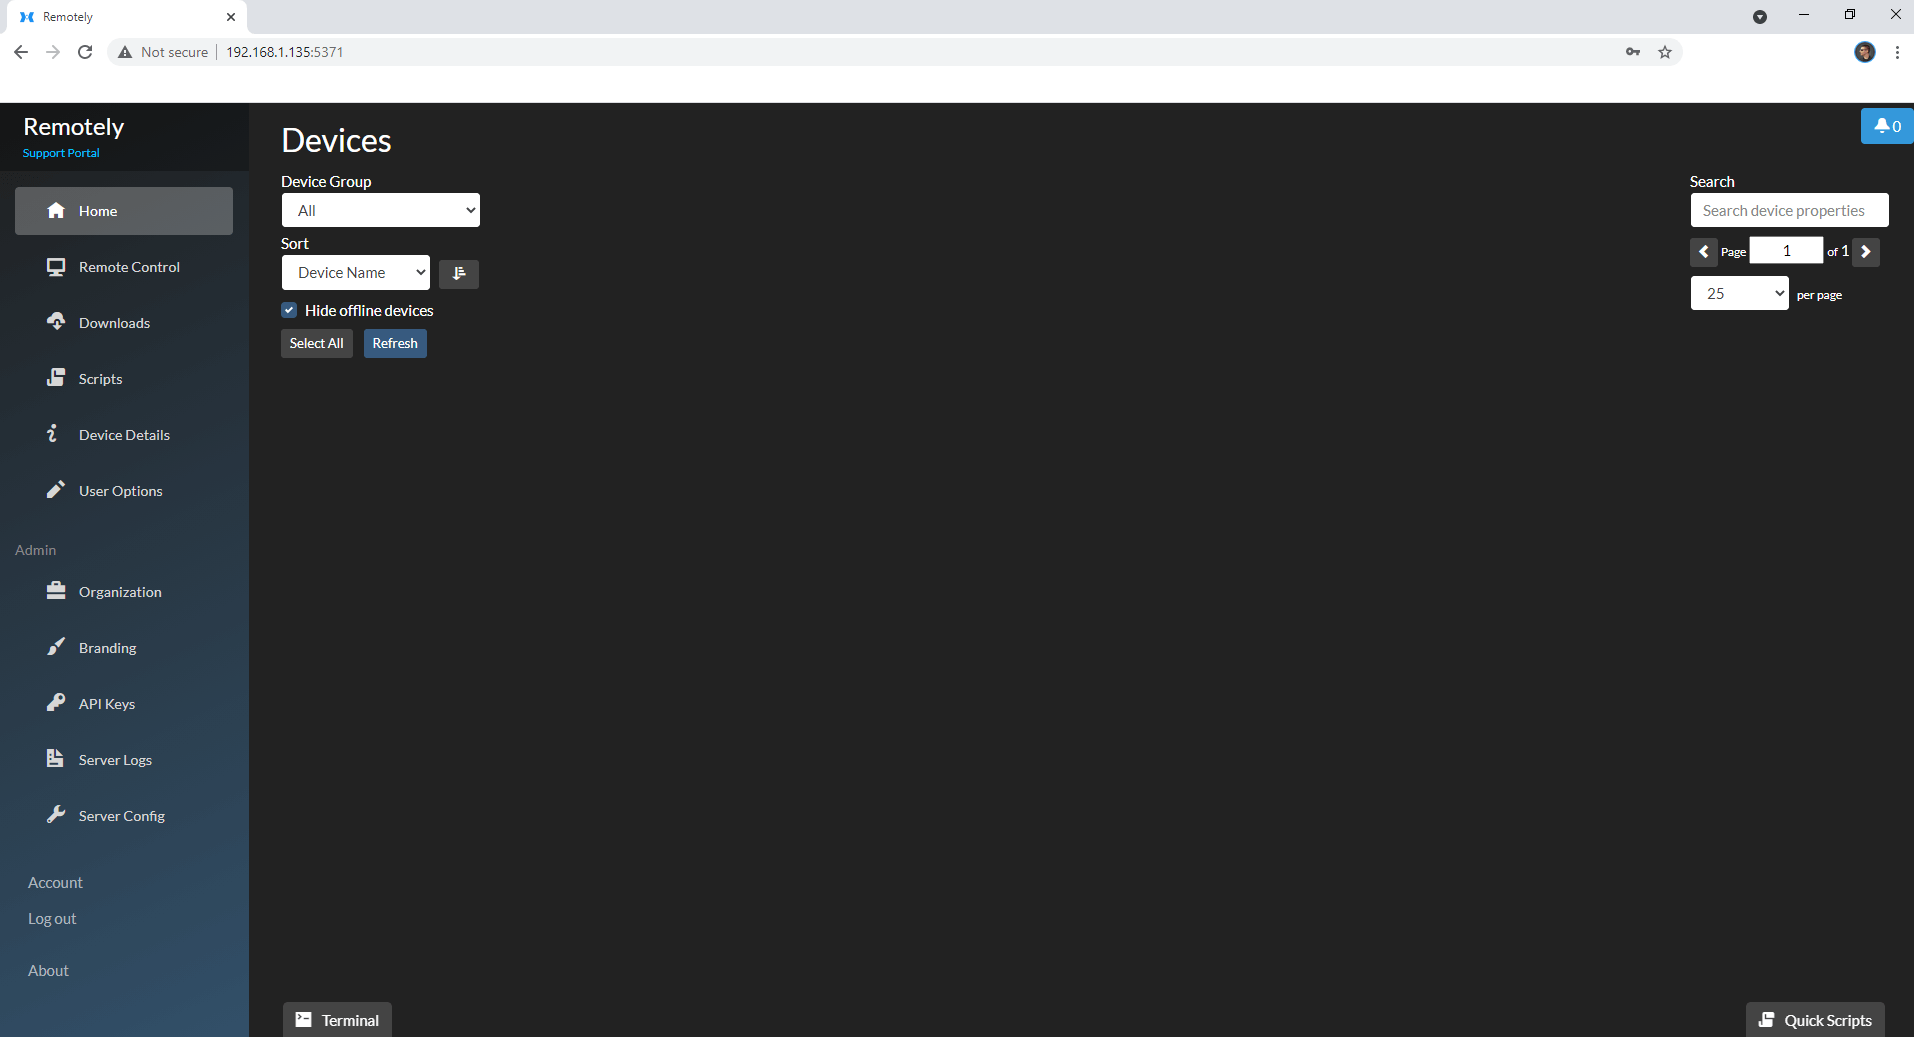
- Access NAS Interface: Use a web browser to access the NAS configuration interface, usually through its IP address.
- Configure Network Settings: Set a static IP for your NAS or enable DHCP.
- Enable Remote Access: Look for options like "QuickConnect" (Synology) or "myQNAPcloud" (QNAP) to enable remote access.
- Set Up User Accounts: Create user accounts and set permissions for secure access.
- Configure Security Settings: Implement firewall settings and enable encryption for data safety.
- Test Remote Access: Use a device outside your network to ensure you can access the NAS.
Real-World Example
For instance, a freelance graphic designer can set up a Synology DS220+ to store design files. By enabling remote access, they can easily retrieve and share projects with clients from anywhere in the world.
Best Practices for Remote NAS Security
Ensuring secure NAS remote access is vital to protect your data. Here are some best practices:
- Use Strong Passwords: Create complex passwords for user accounts.
- Enable Two-Factor Authentication: Adds an extra layer of security.
- Regular Firmware Updates: Keep your NAS's firmware up to date to protect against vulnerabilities.
- Limit User Permissions: Only grant access to those who need it.
Troubleshooting Common Issues
Encountering problems during setup? Here are some common issues and solutions:
- Cannot Access NAS Remotely: Check your router's port forwarding settings.
- Slow Connection Speeds: Ensure your internet connection is stable. Consider upgrading your bandwidth if necessary.
- Access Denied Errors: Verify user permissions and passwords.
For example, if a user finds they cannot connect remotely, checking the router settings often resolves the issue.
Conclusion
Setting up your NAS for remote access is a smart way to enhance your data management strategy. By following this guide, you can ensure that your files are accessible and secure. Don’t let distance limit your access to important data; take the plunge and set up your NAS remotely today! For more tips on NAS devices, check out our related articles on NAS buying guides and security best practices.
