Unlocking The Secrets Of Bob Ross Painting Techniques

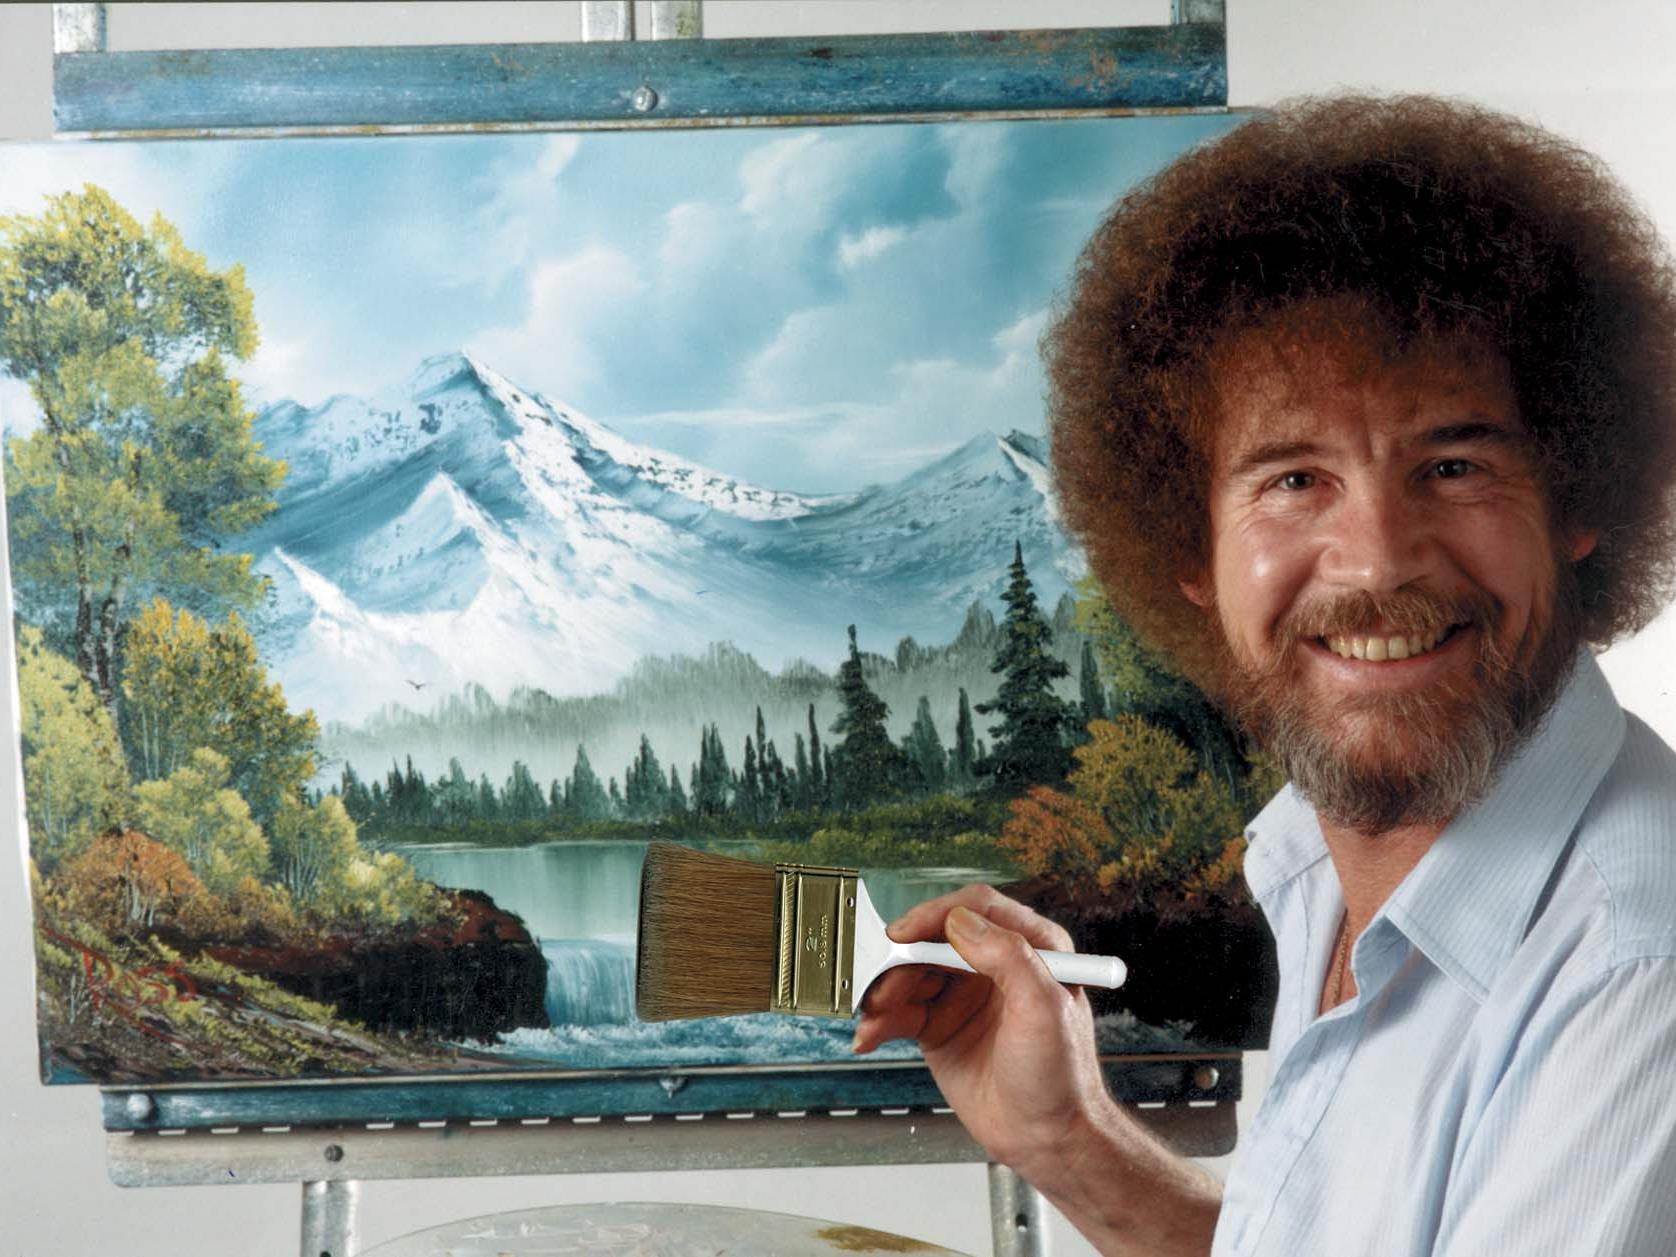
Bob Ross, the beloved painter and television host, transformed the way many view art. His soothing voice and joyful approach to painting have inspired countless individuals to pick up a brush. This guide explores Bob Ross painting techniques, ensuring that even beginners can create their own happy little landscapes. Whether you’re a novice or an art therapy enthusiast, mastering these techniques can lead to a fulfilling artistic journey.

Essential Materials for Bob Ross Painting
Before diving into the world of Bob Ross painting, it’s crucial to gather the right supplies. The right materials can make all the difference in your painting experience.
Recommended Bob Ross Painting Supplies:
- Oil Paints: Look for the Bob Ross oil paint set, which includes essential colors like Titanium White and Phthalo Blue.
- Brushes: Invest in Bob Ross's detail and fan brushes. These tools are designed to help create those iconic “happy little trees.”
- Canvas: Choose pre-stretched canvases for convenience.
- Palette: A large wooden palette will provide ample space for mixing colors.
- Paint Thinner: Use odorless thinner for cleaning brushes and thinning paint.
Finding these Bob Ross painting supplies online is easy, and many art stores carry them.
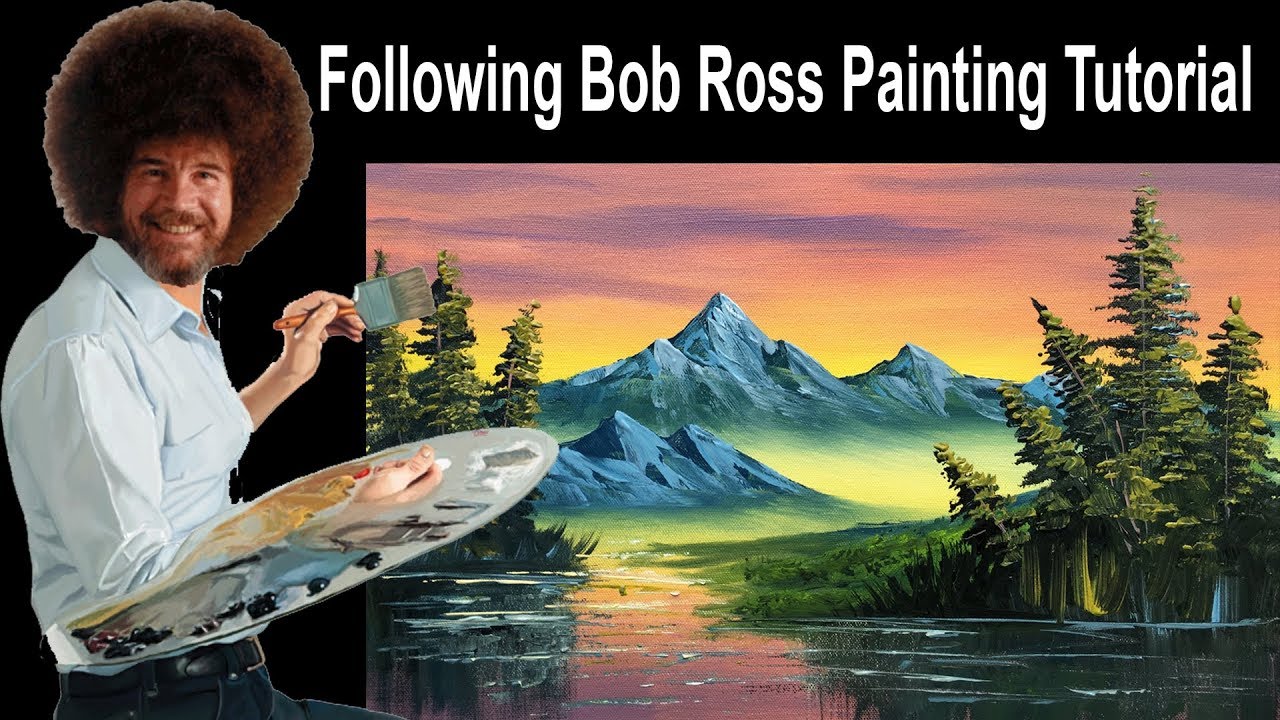
Basic Techniques Used by Bob Ross
Bob Ross painting techniques are characterized by their simplicity and effectiveness. One of the most popular is the wet-on-wet painting technique, which allows for smooth blending of colors right on the canvas.
Wet-on-Wet Technique
This technique involves applying wet paint over wet paint. Here’s how to get started:
- Prepare the Canvas: Apply a thin coat of liquid white to create a slick surface.
- Layer Colors: Use a large brush to add colors directly to the wet canvas. Blend as you go for a seamless look.
Creating Happy Little Trees
To paint trees:
- Use a fan brush and load it with green paint.
- Tap the brush on the canvas to create the foliage.
- Add a trunk using a flat brush for dimension.
Clouds and Skies
Clouds are a staple in Bob Ross landscapes.
- Blend Titanium White and a touch of blue.
- Use a clean brush to gently fluff the paint, creating soft, billowy clouds.
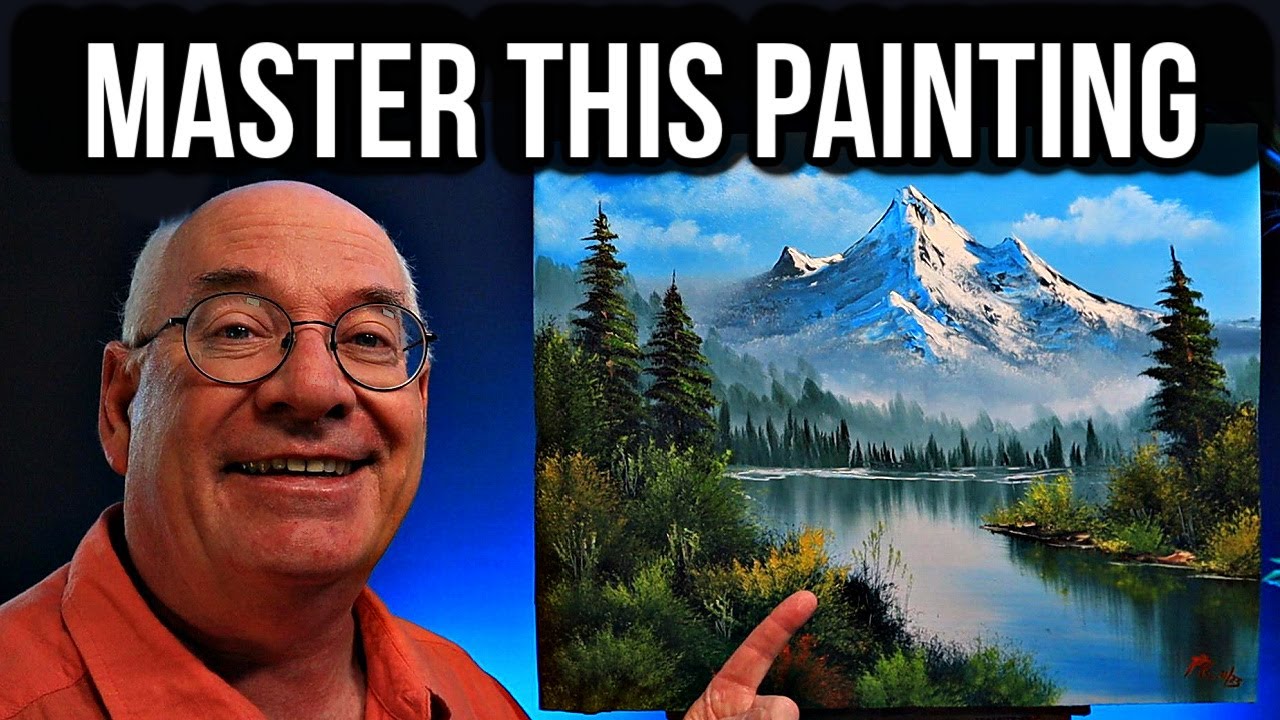
Step-by-Step Guide to Painting a Landscape
Now that you’re familiar with the techniques, let’s paint a simple landscape. Here’s a step-by-step guide featuring a serene mountain scene.
Step 1: Sketch the Outline
Lightly outline the mountain shape with a thin brush.
Step 2: Paint the Sky
Use the wet-on-wet technique to create a gradient sky, starting with a light blue at the horizon and blending into a deeper blue above.

Step 3: Add Mountains
Mix grays and whites for the mountains. Apply the paint using a palette knife for texture.
Step 4: Create Foreground Elements
Paint trees and bushes in the foreground using the techniques discussed. Incorporate a few happy little trees to frame your landscape.
Step 5: Final Touches
Add highlights and shadows to give depth. Remember, practice makes perfect!
Tips for Mastering Bob Ross Techniques
As you embark on your painting journey, keep these tips in mind:
- Practice Regularly: The more you paint, the better you’ll become.
- Don’t Fear Mistakes: Bob Ross famously said, “There are no mistakes, only happy accidents.” Embrace them!
- Join Online Communities: Connect with fellow Bob Ross fans on platforms like Reddit or Facebook groups dedicated to Bob Ross tutorials.
Conclusion
Bob Ross painting techniques offer an enjoyable way to explore your creativity. With just a few supplies and some practice, you can create beautiful landscapes filled with joy. Dive into the world of painting, and remember to have fun along the way! For more resources, check out our articles on beginner oil painting or the top landscape painting techniques, and let your artistic expression flourish. Happy painting!